FIOS>
FIOS Gbit Router
I decided to upgrade the internet speed to 1 Gbps from 300 Mbps with $10 extra.
It used to be the coaxial cable goes into the Cable modem and you get the ethernet.
This works only up to download 1 Gbps. This is called Data Over Cable Service Interface Specification (DOCSIS).
Verizon FIOS is an optical fiber network and the optical fiber can transmit more than 1 Gpbs.
Currently FIOS has 500 Mbps, 1 Gps, 2 Gps, 5 Gps plans. In order to handle faster than 1 Gpbs,
the need for the ethernet port on the OTN.
Updated 10/3/2026
Index
The new outer I received was called "Wi-fi Access Point CHR30A". It is a tri-band Wifi-7 device
which act as either a router or wifi extender. The wifi supported is Tri-band (2.4, 5, and 6 GHz) uses
80211be standard and simultaneously broadcasts three frequency bands. The ethernet supported are two 2.5 Ghz and
one 10 Ghz.
 .
.
The top left has WiFi Name, Password, Admin Name, Admin Password which is covered by the sticky tape you remove to reveal.
Using your web browser to log In to the router, using 192.168.1.1. Use the admin password to get in.
https://www.verizon.com/content/dam/verizon/support/consumer/documents/wi-fi-access_point/CHR30A_datasheet.pdf
Top
I have set up the webpage on the Raspberry PI long time ago. After I installed the new Gbit router, I could not access
it. The new router device list does not show the name but just MAC address. Here is how I solved it.
Note that my website is registered.
- Get the info on the Raspberry PI by running a console and type ifconfig. "inet" is the local IP address and
"ether" is MAC address.
- Get the address of the web site by running a windows console command nslookup:
	> nslookup (website name)
	Server: *********.com
	Address: 2600:********

	Non-authoritative answer:
	Name:  (website name)
	Address: **:***:***:**
- The address is the public IP address for your website. Now open the router admin page by using 192.168.1.1
- Open Advanced page and select "Network settings"
- Open "Static NAT" from the list of Network Settings
- Fill Create rule. Select User defined (since my Raspberry PI did not show in the list).
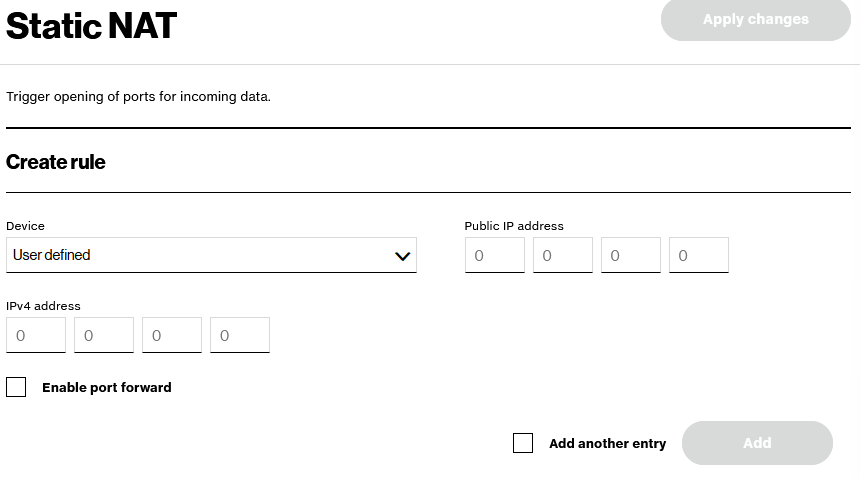
- Fill Public IP address found by "nslookup" and IPv4 address found from your Raspberry PI by "ifconfig".
- Click "Enable port forward" to reveal Protocol choice. Select http.
- Click "Apply Changes". It will create an item in Rules List. Note that Port forward is "Multiple". It knows about both
HTTP and HTTPS even though you selected only one.
We created a static NAT and now you should be able to go to your website from the browser.
Top
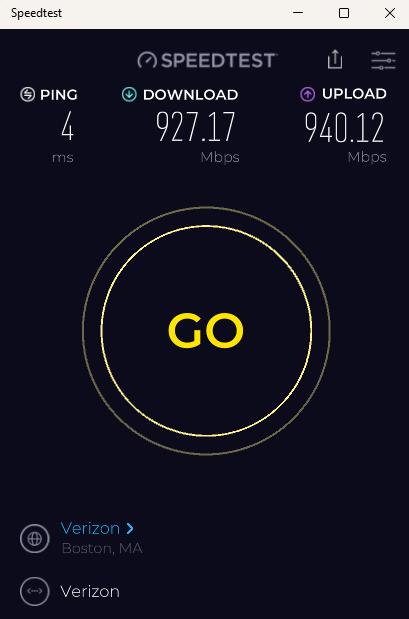
Download the speedtest and install it.
Top
Home